In 2021, Saudi Arabia introduced an E-invoice system that requires QR code to be included in receipts and invoices. QR code must be embedded in the receipt automatically and must contain all the required fields, encoded by the specification and requirements provided by ZATCA (Zakat, Tax and Customs Authority). More info can be found on the official ZATCA website.
Compliance with ZATCA requirements
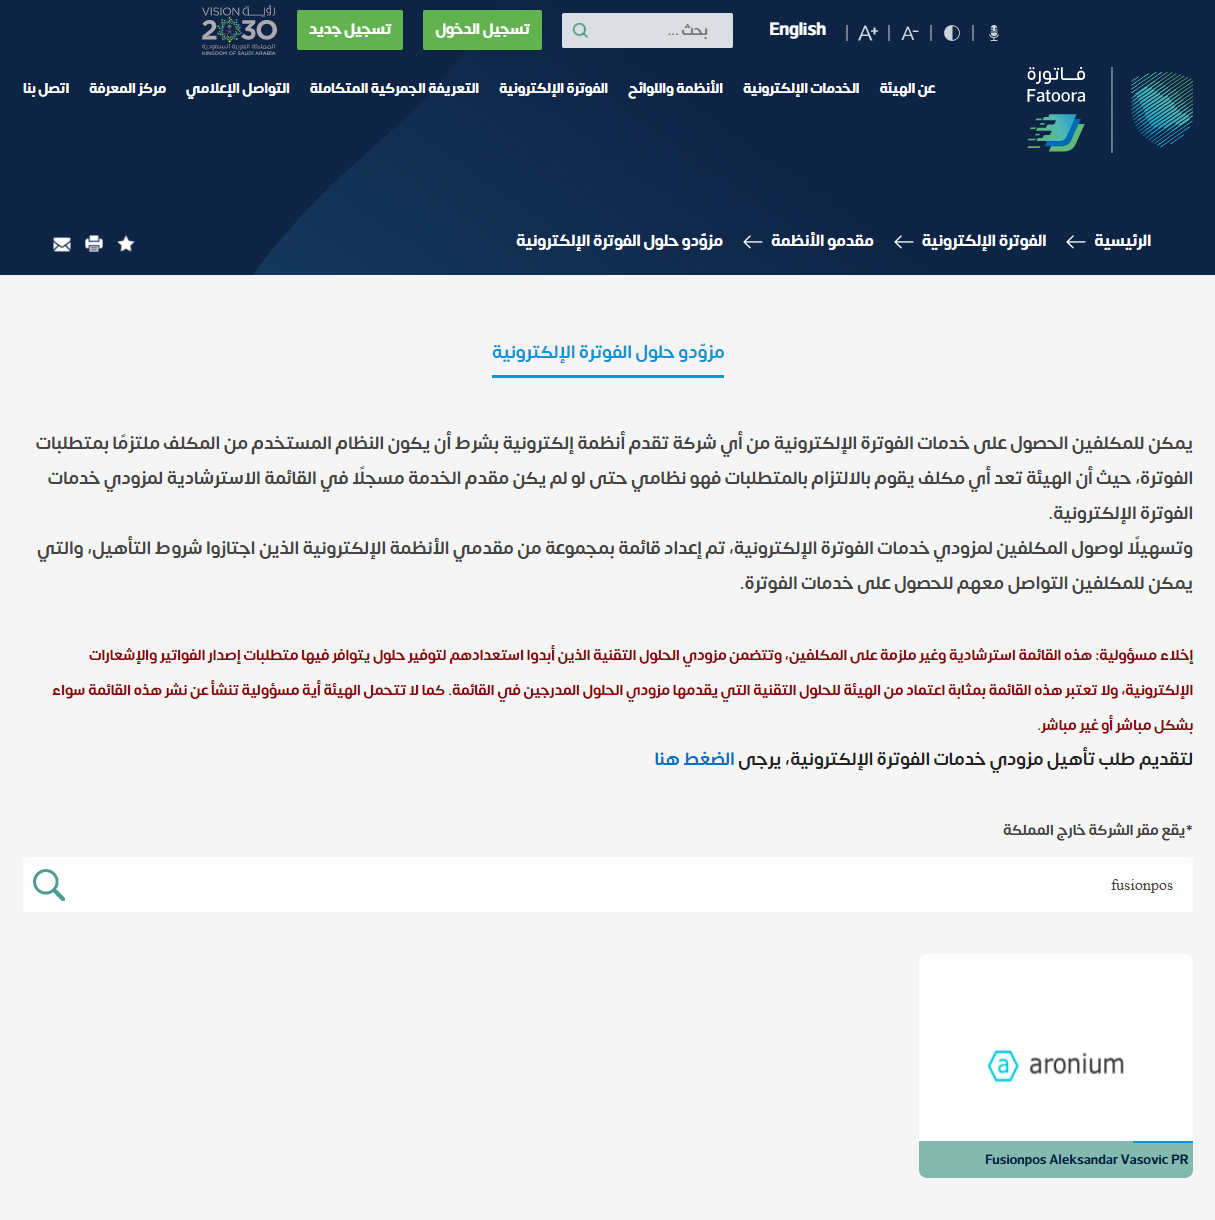
You can find us among other accredited solutions on solution providers directory page by searching for "FUSIONPOS", as that is the name of the company which holds the rights for the Aronium software.
QR code
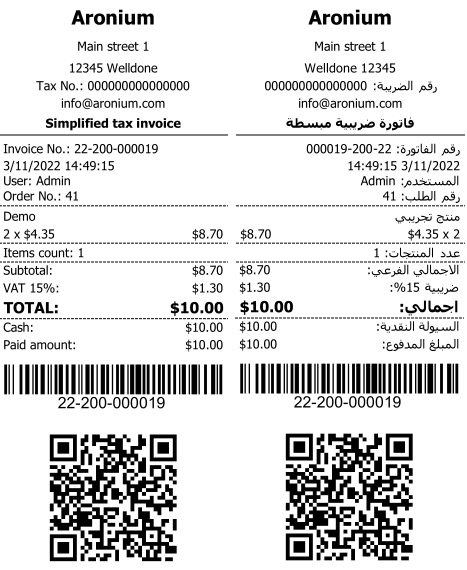
With Saudi Arabia E-invoice plugin, QR code is automatically printed in receipts and A4 invoices. Example of the English and Arabic receipts with a QR code can be found below.
QR code content
Content of the QR code is structured using TLV (tag-length-value) protocol and encoded in Base64 format, as required by the implementation instructions, from "Security Features Implementation Standards" document (see section 4 for more details).
Here is an example of the QR code that is added to printed documents.

AQdBcm9uaXVtAgkxMjM0NTY3ODkDEzIwMjEtMDktMjFUMTk6Mjk6MTUEAzExNQUCMTU=
The content of this QR code, when decoded, will contain the following information:
(1) Aronium
(2) 123456789
(3) 2021-09-21T19:29:15
(4) 115
(5) 15
Scanning and reading the QR code
As suggested by ZATCA's official video (https://youtu.be/QFrIkQhHlF0 at 49m50s), a special applications must be used to correctly read and presents all the details of the QR code.
Please consult ZATCA's authorities on what applications you can use to scan and read the QR code.
Download & setup
You can download the plugin from www.aronium.com/en/features/e-invoice-ksa.
Once you download the installer, run it and follow on screen instructions to complete the installation.
License agreement
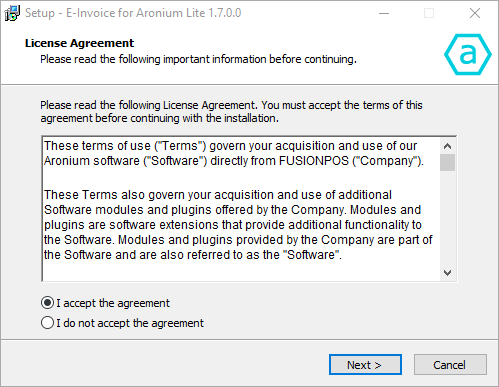
Read the license agreement carefully, and, if you agree with it, select I accept the agreement to continue. You can read the latest Terms of anytime at Use at www.aronium.com/en/terms-of-use.
Once you are ready, click Next to continue.
Ready to install
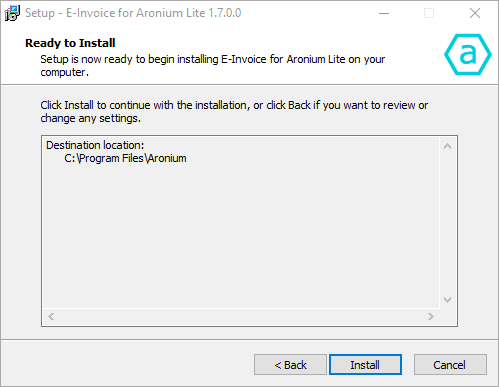
Review the installation details and click Install to begin the installation.
Finish setup
Wait until installation is complete and close the window.
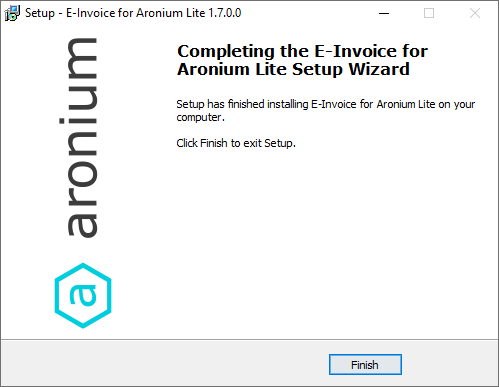
Your plugin is now ready to use. You can proceed to Configuring E-invoice to read more about setting it up.
