If SQL Server service is stopped and cannot be started as described at SQL Server stopped working article, follow instructions below to try fixing it by replacing login credentials on the service.
Step 1: Open service properties
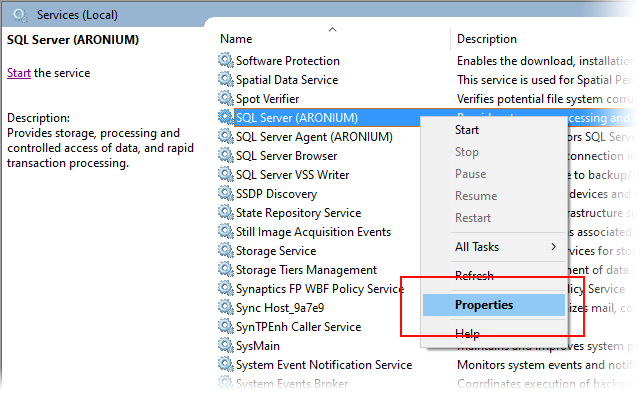
After locating service in "Services" app described in this article, right click on "SQL Server (ARONIUM)", and select "Properties", or simply double click the service.
Step 2: Go to "Log On" tab
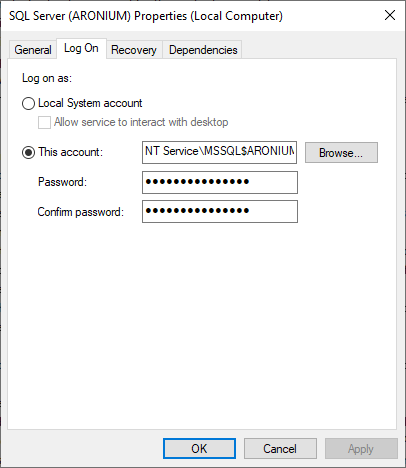
On properties screen, select "Log On" tab, as in the screenshot below.
Step 3: Find Local Service account
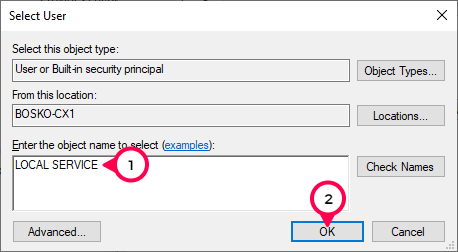
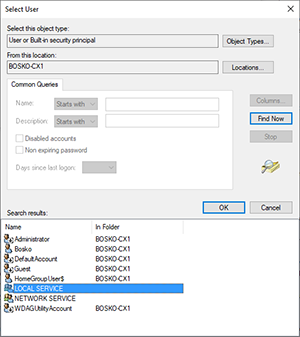
Every service needs to have one Windows account associated with it. In this step, you are going to replace current log on account with "Local Service" one. To replace the account, click "Browse" button next to account name. Account search dialog will open. Enter "LOCAL SERVICE" in search field and click "OK" button.
Select user from list
Alternatively, you can find different local accounts if you click Advanced ➞ Find Now in a new dialog that opens. After that, you can select one from the list of available accounts.
Step 3: Remove account password
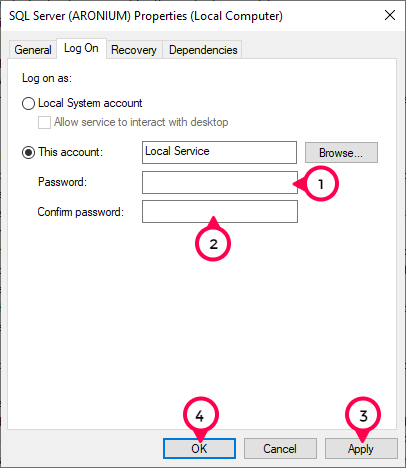
Local service you selected does not have a password associated. Password fields contains password from previous account, so you have to remove it. Simply clear "Password" and "Confirm password" fields and click "Apply" and then "OK" buttons.
Step 4: Start SQL Server service
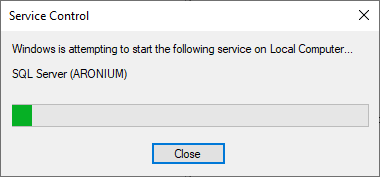
Click "Start" option in top left corner. A dialog message informing you that service is being started will appear.
Step 5: Confirm service is started
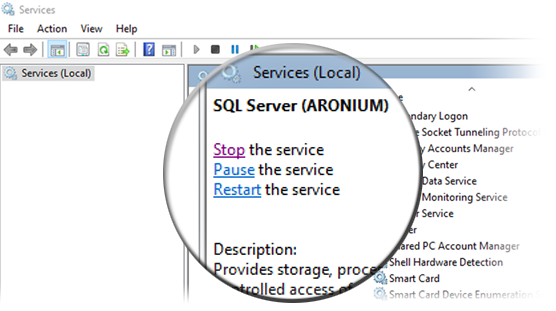
Once you have started the service, you will see the options to stop, pause or restart service in top left corner, as in the screenshot below.
